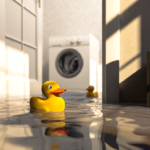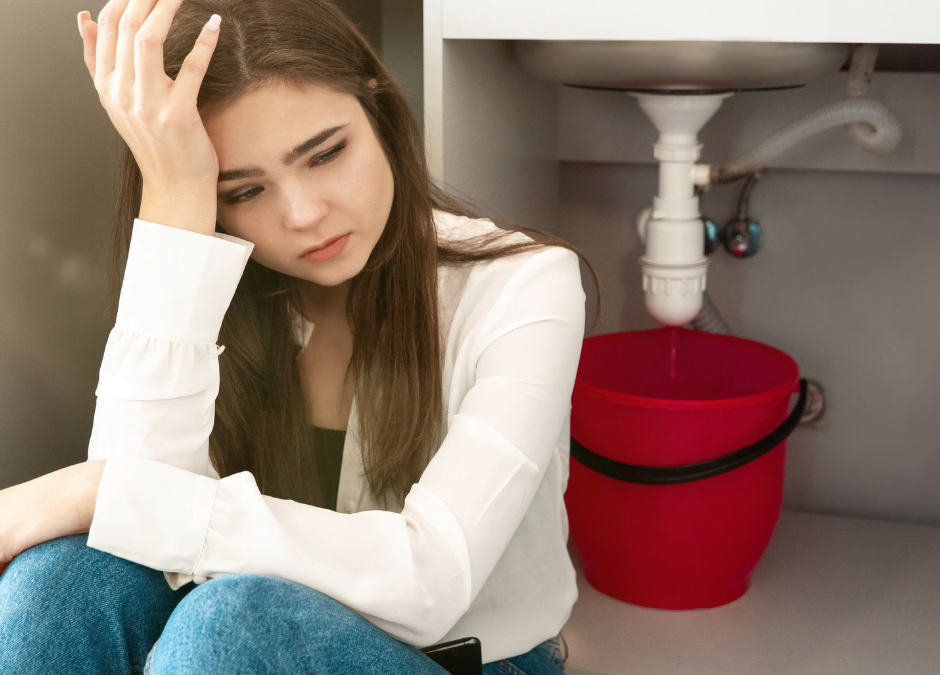
Leaky pipes are one of the most common and pesky plumbing issues homeowners face. That constant drip-drip-drip can drive you crazy, not to mention cause extensive water damage if left unchecked. Don’t panic—with this comprehensive guide, fixing a leaky pipe is easier than you think. We’ll walk you through locating, diagnosing, and repairing leaks in all types of pipes. With a few simple tools and techniques, you can stop the annoying flow and restore your plumbing to full functionality.
Shut Off the Water Supply
The first step in any leaky pipe repair is to turn off the water supply to isolate the leak. This prevents additional water from flowing through the pipe while you are diagnosing and fixing the problem.
Locate your home’s main water shut-off valve, usually near your water meter or main incoming water line. The valve will look like a spigot or knob that you can turn clockwise to shut off water to the entire house. Once the water is off, turn on the lowest faucet in your home to drain the pipes.
If you can’t find the main shut-off, start by shutting off water valves under sinks or behind toilets to isolate certain sections of your plumbing. Turning off the water stops additional leakage as you track down the source of the leak. Having the water off also creates a dry workspace for repairs.
Find the Source of the Leak
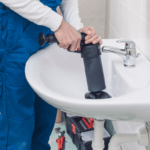
Now it’s time to play detective. With the water off, inspect all pipes, joints, valves and fittings throughout your home to locate the leak. Look for water stains, moisture drips or puddles which indicate a leak. The source may be obvious, like water dripping from a fitting. Or, it may be more subtle, like moisture seeping through drywall or damp areas under sinks.
Check in these key areas:
Pipe Joints and Connections
Tighten fittings that connect pipe segments in case they have loosened over time. Joints between copper pipes often leak first.
Supply Lines
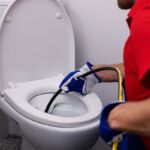
Inspect the flexible water supply lines that run to sinks, toilets, ice makers, washing machines, etc. The pressure clamps at the end of these hoses frequently leak.
Pipe Valves
Corrosion or looseness around shut-off valves and spigots leads to drips and moisture buildup.
Rusty or Damaged Pipes
Age, minerals in water, and freezing can corrode and eventually puncture metal pipes. Any visibly rusted or damaged sections likely leak.
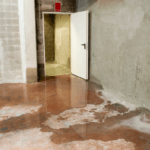
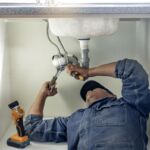
Behind Walls or Under Sinks
Use a moisture meter to detect leaks inside walls or cabinets. Look for water stains or warped surfaces which indicate a hidden leak.
Isolate the exact section of the pipe causing the leak so you can focus your repair efforts. Turn off shut-off valves around the leaking area to stop the water flow. Call a professional plumber for assistance if you can’t locate the leak source. Leak detection services use specialized tools like infrared cameras, acoustic listening devices, and pipe video inspection to precisely pinpoint hard-to-find leaks.
Assess Pipe Damage
With the water off and the leak source identified, closely inspect the pipe’s condition. Look for any visible cracks, holes, corrosion, dents or damage, allowing moisture to escape. The pipe material (copper, PEX, galvanized steel, lead, etc.) and the nature of the damage determine which repair technique you will use.
Here are some common leak causes to look for:
Punctures: Objects or freezing can pierce pipes, creating holes that leak. This often happens when pipes run through walls and floors.
Cracks: Pressure, corrosion and physical stress can cause small cracks or splits in pipes that weep water. Cracks frequently form near joints.
Worn Seals: Gaskets and washers inside pipe joints degrade over time, causing drips and seepage.
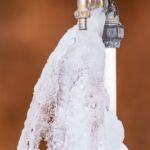
Mineral Deposits: Hard water forms on the inside of pipes, eventually clogging and breaking them. White or rust-coloured stains indicate mineral buildup.
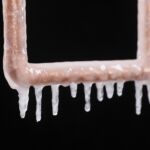
Freezing: Ice blocks expand and contract pipes until they burst at weak points. Freezing often splits joints and fittings.
Loose Fittings: Vibration can loosen the screw-on fittings connecting pipe segments, allowing leaks.
Carefully drying the pipe gives you the best view of damage like cracks, pinholes and corrosion. Use this visual evidence to decide if you can patch the leak or need to replace part of the pipe.
Choose a Repair Method
The type of pipe material and extent of damage dictate your repair options. Here are some standard DIY methods for patching leaky pipes:
- Cracked or punctured plastic PEX, PVC and ABS pipes: Cut out the damaged section and join the cut ends with a coupling fitting. Flexible PEX pipes make this repair easy.
- Pinhole drips in copper pipes: Scrub the pipe, then apply an epoxy patch kit according to package directions for a quick fix. This doesn’t strengthen the weakened pipe, so leaks may recur.
- Leak at threaded fitting: Tighten the fitting several rotations with pipe wrenches. Apply pipe thread sealant for a snug, water-tight seal.
- Corroded section of galvanized or cast iron pipe: Replace the corroded length. Cut, remove and reconnect with a coupling fitting.
- Split pipe joint: Tightening the compression nut at the joint may stop minor leaks. Replace the worn gasket for a better seal.
- Frozen and split pipes: Wrap the split with tape for temporary leak control. Replace the damaged section completely when water is restored.
If you aren’t comfortable making pipe repairs yourself or the leak requires the replacement of concealed pipes, hire a professional plumber. They have specialized tools and expertise to complete all pipe repairs.
Test Repairs and Restore Water
With the repair complete, it’s time to test your workmanship! Turn the main water supply back on and open all faucets to flush any sediment and air from the lines for a few minutes.
Inspect your repair closely as the system pressurizes. Any drips, moisture or visible leaks mean you must rework the repair before returning the system to full service. Small leaks often grow over time, so it’s essential to fix them entirely now.
Once the repair passes the leak test, open shut-off valves to restore water to all areas of your home. Continue monitoring the repaired pipe section over the next several days while using fixtures fed by the line. If a leak reappears, repeat the repair process until the pipe holds water reliably.
Prevent Future Leaks
Even a perfectly executed repair is only temporary if the underlying cause of leakage isn’t addressed. Use these tips to improve pipe longevity and prevent future leaks:
- Insulate water pipes in unheated areas like basements, garages and crawl spaces. This prevents freezing and pipe bursts in winter.
- Install heat tracing wire next to pipes that tend to freeze. The wires warm pipes just enough to avoid ice blockages.
- Remove mineral deposits inside pipes to maximize flow. Descaling protects pipes from internal corrosion and damage.
- Anchor and support pipes properly to reduce strain on joints. Stresses lead to cracking and loosening over time.
- Replace old steel, lead and galvanized supply pipes with longer-lasting copper or plastic piping.
Annual plumbing inspections help spot potential leak points before they turn into gushers. A plumber can assess pipe condition, identify necessary repairs and make improvements to optimize your plumbing health.
Know When to Call a Licensed Plumber
While many leaky pipe fixes are DIY-friendly, don’t hesitate to contact a professional plumber when:
- You can’t locate the source of persistent leakage. A leak detection specialist has the tools to pinpoint the problem spot.
- The damaged pipe is concealed behind walls, under slabs or in crawl spaces. Accessing buried pipe requires cutting holes you may not be able to repair.
- The leak requires the replacement of large sections of pipe or re-plumbing of fixtures. This work often requires permits.
- You lack the skills, tools or confidence to make plumbing repairs yourself. There’s no shame in hiring a pro!
In a plumbing emergency like a big burst pipe or rapidly expanding leak, immediate professional help is a must. The 24/7 specialists at Tap Tech Plumbing can promptly respond to emergencies to control your leak.
The Bottom Line
While any leak can initially seem like a plumbing disaster, arming yourself with the right knowledge is helpful. Carefully diagnose the leak source, thoughtfully assess pipe damage, and execute targeted repairs using the techniques outlined here. Know your limits, though—some leaks require a plumber’s expertise. Persistent leakage or gushers are your cue to call in the pros.
Rest easy knowing that 5-star service is only a phone call minutes away! We come to you with 25+ years of plumbing experience.
Book Here or call us 24/7 at 343-305-1172.